How to Create Flash Slideshow for Your Website
Harness the Power of Images to Capture Visitors!

One of the best ideas to enhance your website attractiveness and make a lasting impression is to add a flash slideshow to your homepage. This way you will surely catch your visitors' interest; you will also give them an opportunity to enjoy unique and rich content. Embedded slideshows are very popular nowadays because visual demonstration says more than an infinite scrolling post. Using a flash slideshow, you can share many images in a cohesive and sequential way and save precious space - just imagine how much you would need for multiple single images.
If you decide to create a flash slideshow for your website, try doing it with SmartSHOW – an easy slideshow creator with an intuitive interface. This software offers a wide range of ready-to-use templates and design embellishments such as title clips and transitions. If you want to persuade your visitors to check out your company's goods or services, impress them with a professional quality slideshow!
Step 1 - Create the Slideshow Project
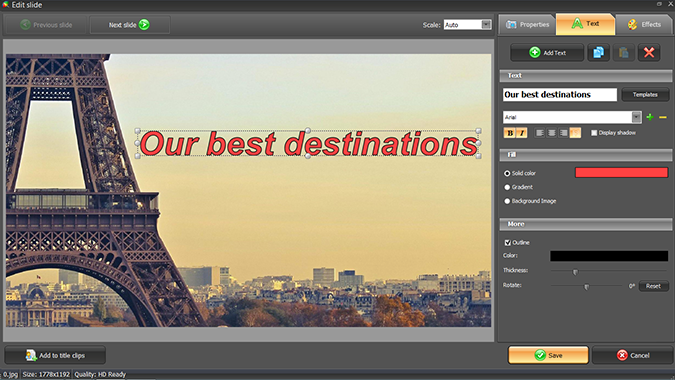
First, select the photos you are going to use in your slideshow. Try to limit your choice to 25-30 pictures. Take advantage of Slideshow Templates, add the photos and a suitable song – and your slideshow is ready. You can also create flash slideshow from scratch – to do this, just drag and drop the necessary shots in SmartSHOW storyboard. For the appropriate beginning, choose one of the Title Clips and type the necessary introduction. Choose one of the Themes to display your pictures in the same design style. Add a music file - if you believe that a slideshow with music is appropriate for your website of course.

Step 2 – Apply Artistic Slideshow Effects
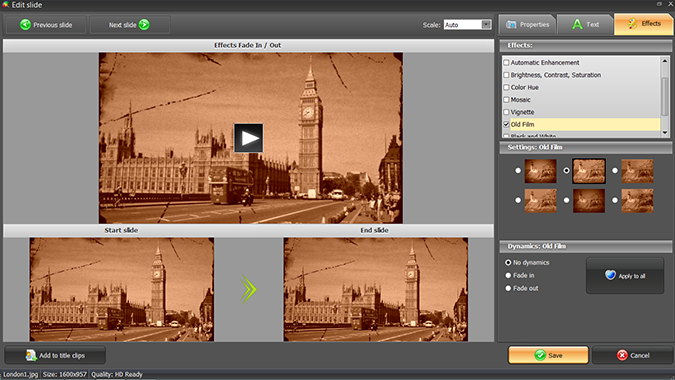
In order to create flash slideshow that will work as a memorable visiting card for your website, you need to "dress it up". Look through the Transitions tab – the stunning gradient types suit commercials perfectly. In the slide editor, zoom the photos as you need and try applying some Effects. You can change the Color Hue, or create an "old photo" look using Old Film effect. The artistic slideshow effects provided by SmartSHOW slide editor will certainly make your visitors watch the slideshow up to the end.

Step 3 - Convert Your Slideshow to FLV Video
If you are satisfied with the final flourishes you added, it is time to create FLV video. Before you do this, it is a good idea to save the project you created, because that will allow you to refine it later. Then go to the Create tab, click on the Create Video Slideshow option, and choose Create Video for the Internet. Here, select FLV type and customize the video settings and the player size. Change the video quality if necessary - the higher the video quality, the larger the file (a heavy video file may slow down the page load speed). Specify the output folder for the video and the embed code - that's where you will find all the files needed for uploading and embedding the video. Click OK and wait for the conversion to finish.

Step 4 - Embed the Slideshow on Your Website
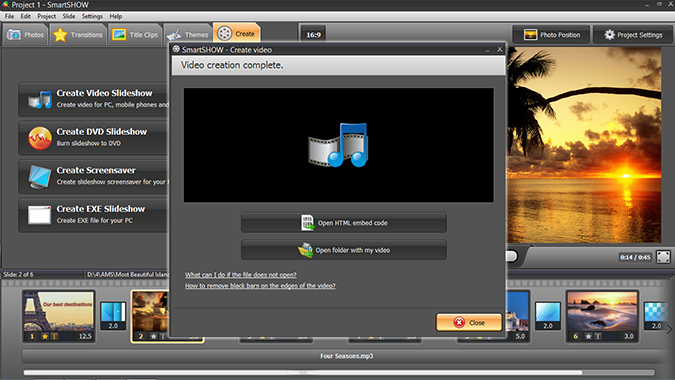
When the conversion is over, click on the Open HTML embed code button. It will lead you straight to the piece of code with further instructions. Upload the video and player files listed there to your website – the files are all located in the output folder you specified before creating the video. Then copy the HTML-code and paste it onto your webpage. Refresh the page and you will find your slideshow right there.

It takes minutes to create flash slideshow, then a few more to upload it to your website. However, the profit and the acknowledgment you will get as a result can echo for years. Bloggers can also take advantage of embedded video projects - this way their website can become an independent and self-sustained education or entertainment platform.
Looking for new ways to inspire your visitors to take action? Astound them with a brilliant flash slideshow!


